This is the first in what will become a multi-part series of posts on configuring Operating System Deployment in Configuration Manager 2012 R2. The end goal will be to use Configuration Manager with MDT integration to provide a rich end-user experience for deploying operating systems.
In this first part, we will lay the foundation for what will become the core of the deployment – the Windows Operating System images. In this part, we will create task sequences to build and capture the reference images and update them as needed.
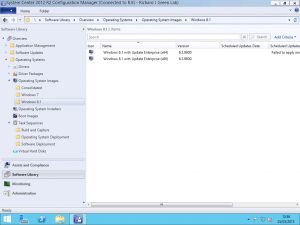
We start with our source Windows media. Copy the contents of the Windows .iso file you plan to use for your installations to a suitable directory in your SCCM source structure and import the Operating System Images as shown above. Repeat this for as many Operating System versions and architectures as you need to support. If you are supporting many operating systems, I would highly recommend creating a folder structure to aid locating the images.
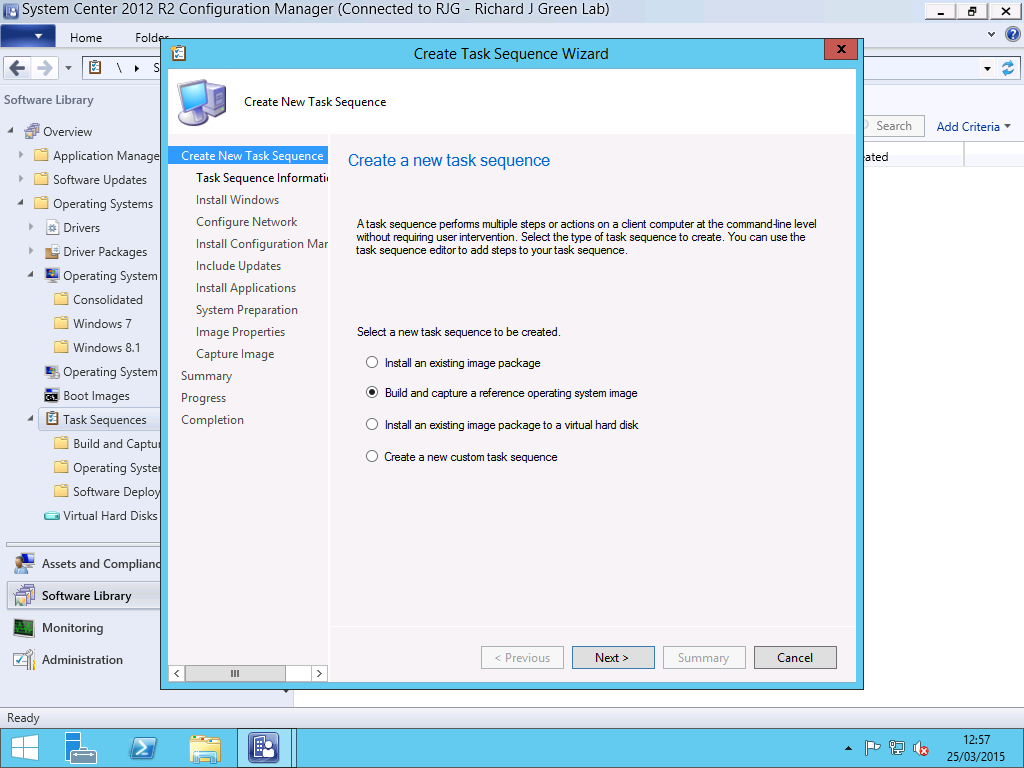
Once you have imported your base Operating System Images, we need to create a new Task Sequence. In the Task Sequence Wizard, select the Build and capture a reference operating system option.
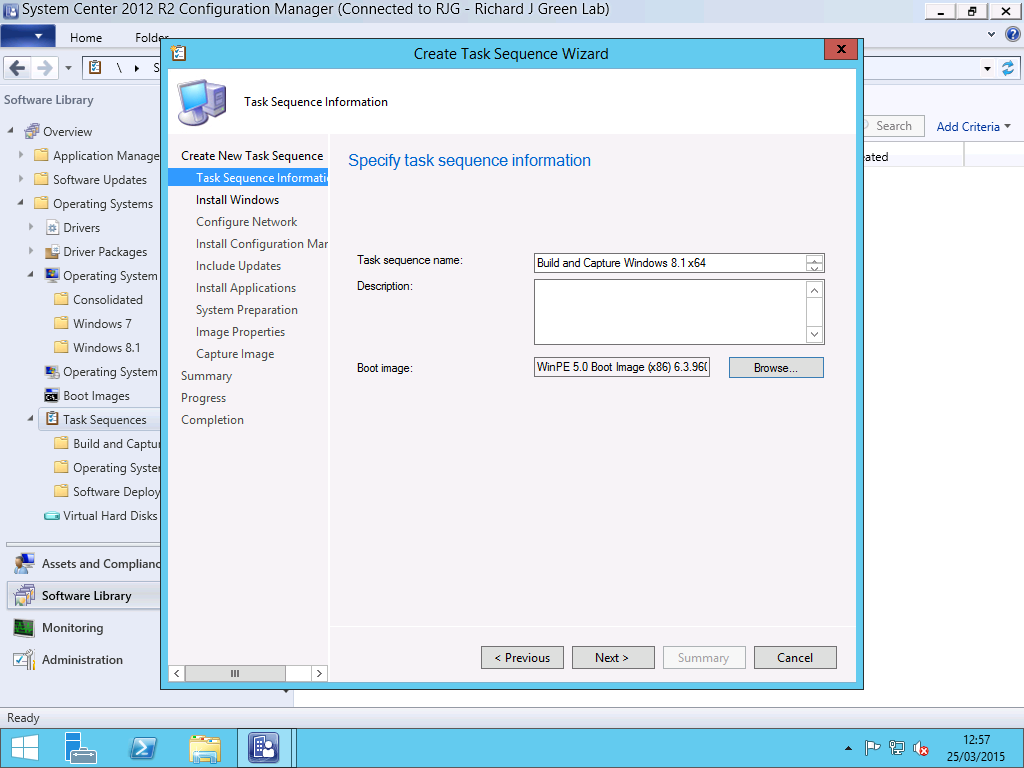
Next, we need to give our Task Sequence a name and specify the boot image to use. You should always use the 32-bit (x86) boot image because with this one image we can support both 32-bit and 64-bit operating system images however if you use the 64-bit boot image, that is only able to support 64-bit operating system images.
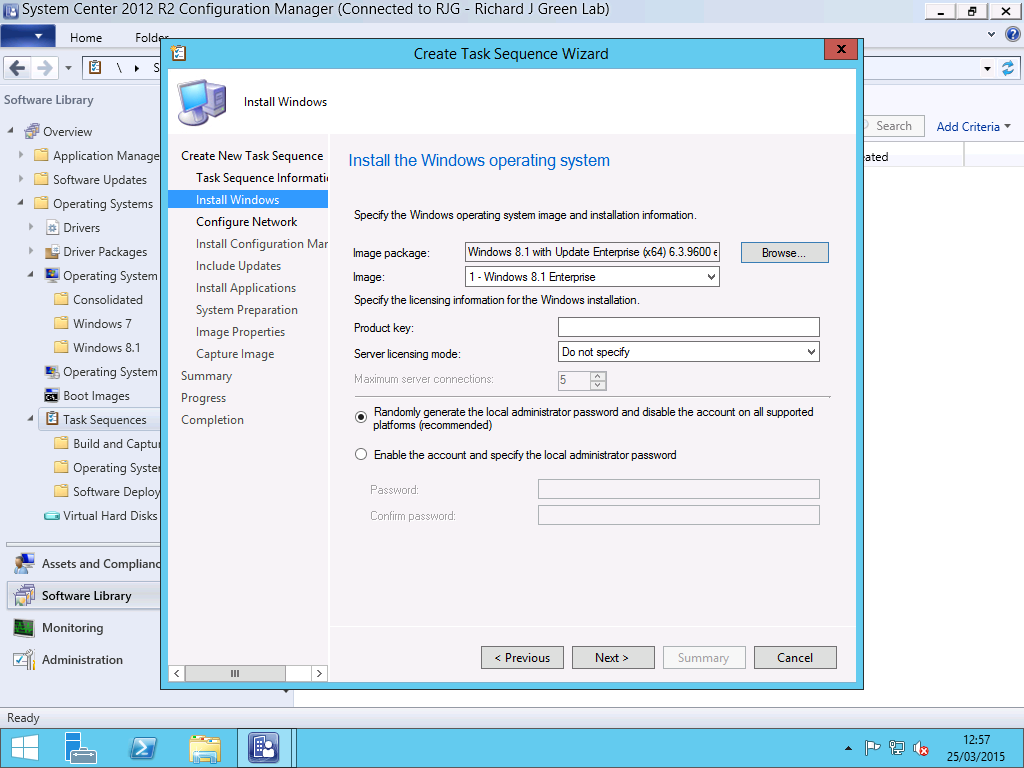
Next, we need to specify our source operating system. In this demonstration, I am using Windows 8.1 Enterprise with Update (x64). The install.wim file in the source Windows media only contains a single image so Image 1 automatically selected from the .wim file. If you are using a Windows image that provides multiple Images such as Home Basic, Home Premium and Professional then you need to make sure you specify the correct image from the list.
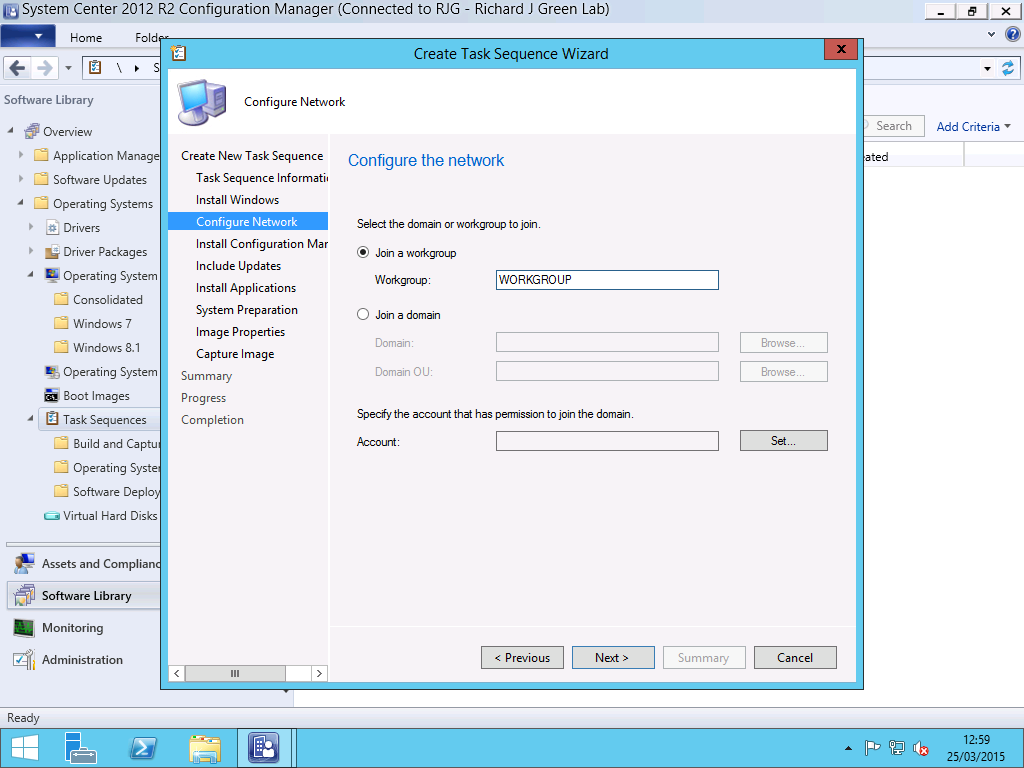
Next, we need to specify our machine to join a workgroup and not a domain. We don’t want our reference machine to join the domain as joining the domain will cause Group Policy Objects to be applied to the image which could in turn install software, none of which we want included in the base image. Specify any workgroup name you like but I stick to WORKGROUP just for simplicity.

On the step shown above, we need to configure the Configuration Manager Client Package that will be used to install the Configuration Manager Client. Configuration Manager will automatically select the package from the site however we need to customise the parameters that get used for the installation. Parameters are automatically detected from the site Client Push Installation parameters and in my case, this added the Fallback Status Point (FSP) record automatically. We need to add to this the SMSP parameter. The SMSMP parameter tells the Configuration Manager Client the name of the Configuration Manager Management Point. A domain client would find this automatically via Active Directory Publishing of Configuration Manager but as we are in a workgroup, we need to add it. Without this parameter, our Install Software Updates steps will fail to find any updates. Add the parameter as SMSMP=RJGCMSITE1.rjglab.local where RJGCMSITE1.rjglab.local is the FQDN of y our Configuration Manager Management Point.
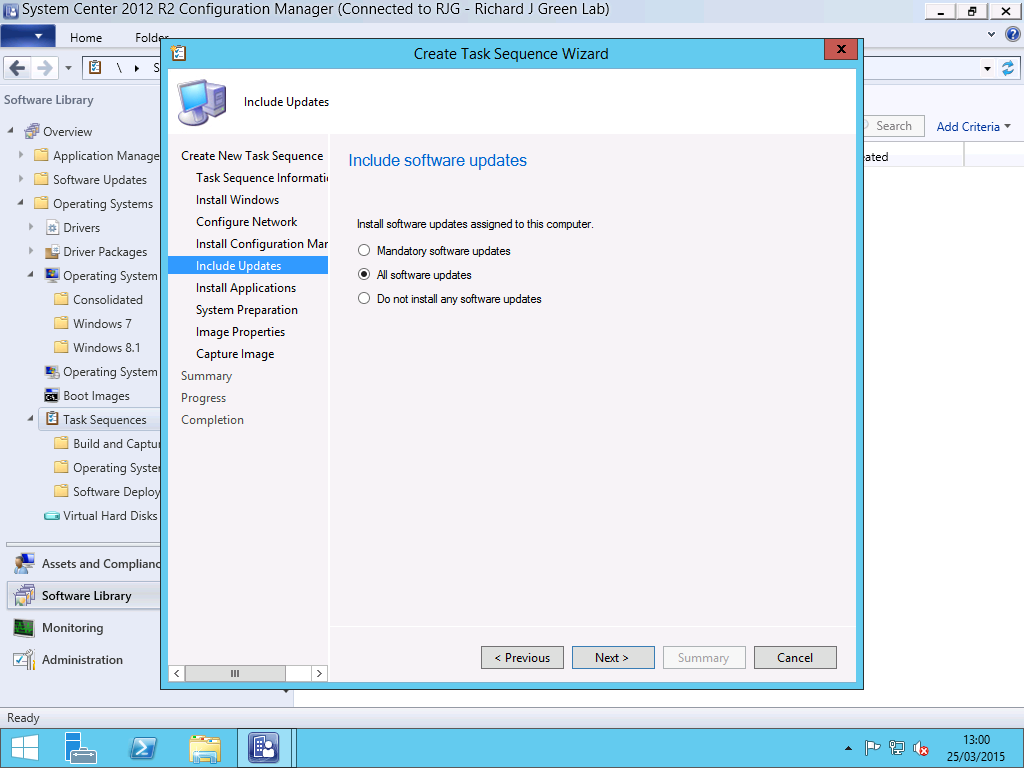
After setting our SMSMP parameter, we need to tell the task sequence wizard that we want to install All Software Updates. This will install any updates which are either Required or Available to the client from any deployments that are visible to the client.
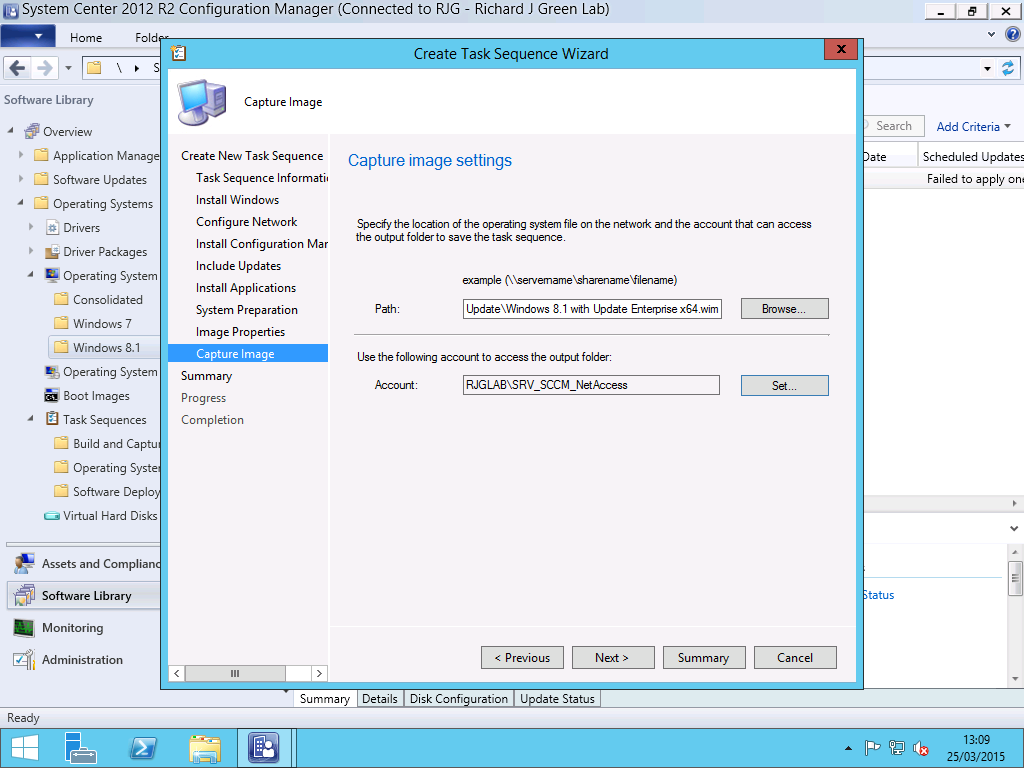
On the final step, we need to specify the capture path and a network access account. Specify the UNC path to the location where you want the captured reference image to be uploaded. This captured file is not automatically added to Configuration Manager once the capture process is complete. The network access account does not use the account configured in the Site Properties and requires us to re-enter the username and password. This is because we may be saving the captured image to a location or to a server which the normal network access account does not have access.
Once you reach this point, the reference image task sequence will be created with all the default steps and can be used like this if you wish however I like to add a few more steps manually.
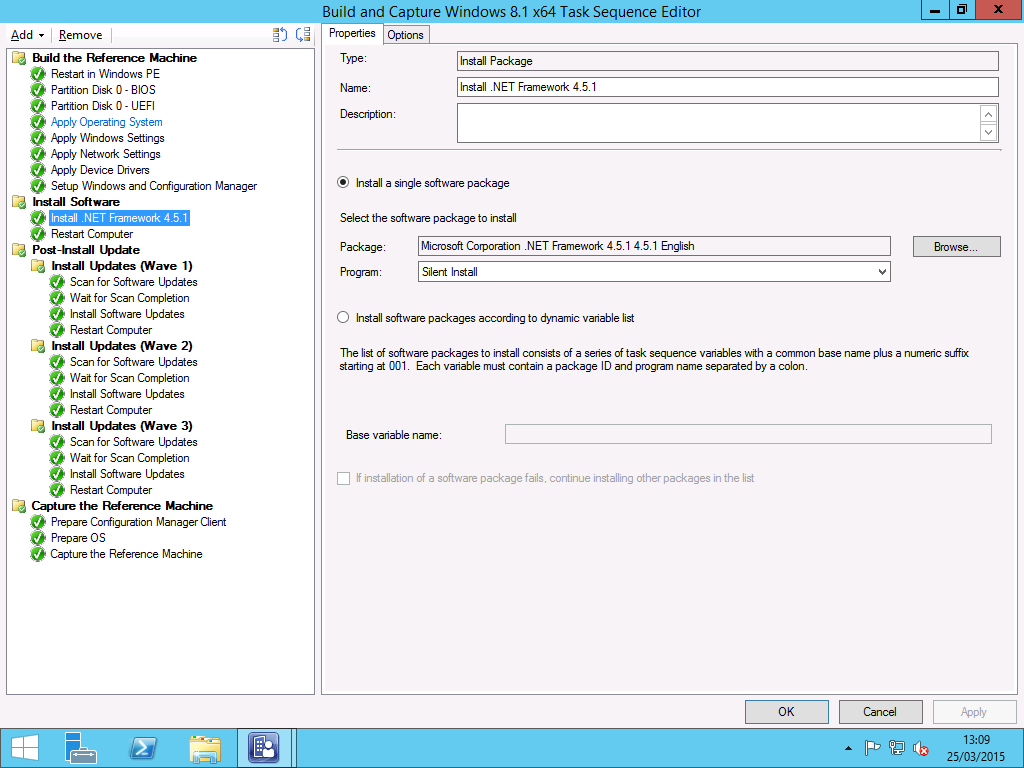
As you can see from the image above, I have added an Install Software step to the task sequence to install .NET Framework 4.5.1 so that all of my reference machines include this newer version of .NET Framework. Other things you might want to consider including in your reference images are Windows Features such as .NET Framework 3.5.1 or software such as Visual C++ packages that will be required by your end-user applications later on down the road. This is down to personal preference and individual requirements so do as you will here. Use an Install Software step to perform this and reference the package and program as required to do so.
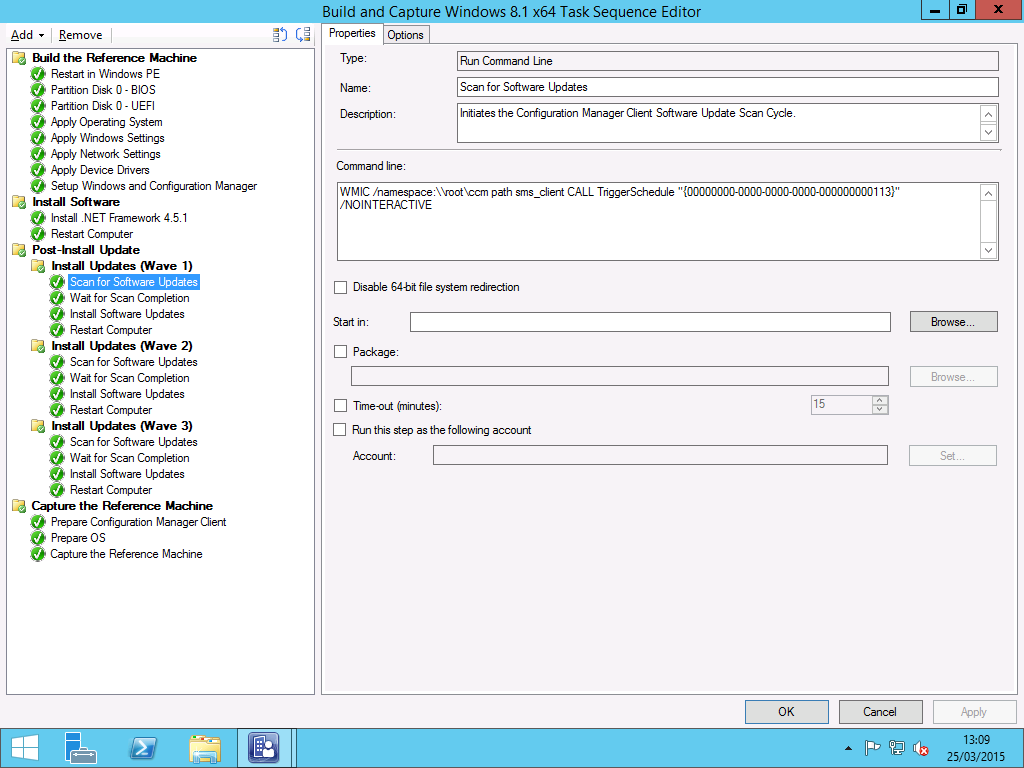
Next, I like to make some changes to the Install Software Updates phase of the sequence. Firstly, I have found, as have others in the community that sometimes the task sequence just fails to find any updates. We can fix this with two steps added to the task sequence. The first step shown above calls the Configuration Manager Client and forces it to perform a Software Update Scan Cycle. To add this yourself, use the following, added as a Run Command Line action in the task sequence.
WMIC /namespace:\\root\ccm path sms_client CALL TriggerSchedule “{00000000-0000-0000-0000-000000000113}” /NOINTERACTIVE
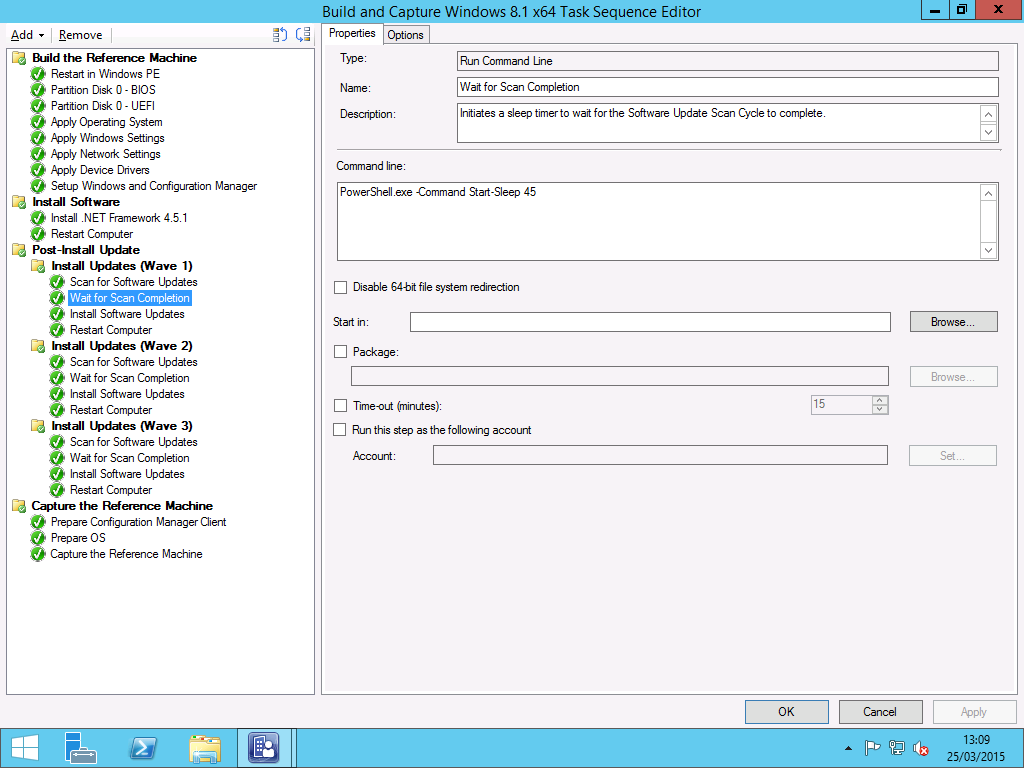
In the step following our forced Software Update Scan Cycle, add a wait timer to the task sequence. This is to give the Software Update Scan Cycle enough time to run, complete and evaluate the updates requirements. Some people will want to use a VBScript to initiate this but doing so requires a package to be downloaded by the client. The easiest way is to use PowerShell and the Sleep command. Use the following added to the task sequence as a Run Command Line action to add a wait timer to the task sequence.
PowerShell.exe -Command Start-Sleep 45
You can change the timer from 45 to any number of seconds that you require but I found that 45 seconds works okay for my requirements.
As you will also see from the two screenshots above, I have added multiple Software Update sections with a Restart Computer step following each wave. As we all know, some Windows Updates require dependencies to be installed or require a restart to complete their installation. Having three iterations (waves) of Install Software Updates in the task sequence does add a chunk of time to the end of the capture process but it is worth it, especially given you won’t be running these too often if at all after the one time. Having three passes of the Install Software Updates step will pretty much ensure that your reference images have 100% of all available updates installed and will be fully up to date.
Once you’ve reached this point, your task sequence for building and capturing a reference image is done. If like me, you are supporting multiple operating systems and architectures then you can now copy the task sequence to create a duplicate of it. For each duplicate you create, edit the Apply Operating System and the Capture the Reference Machine steps to change both the operating system image that gets applied to the reference machine and also the path to which the image is captured.
Once you have created all of the required task sequences, advertise (deploy) them to a collection and run them on your client. At the end of the process, you will have captured a .wim file for each operating system variant you support as a fully patched reference image and we are ready to move on to the next step which is image consolidation which I will be posting in the coming hours or day or so.
One thought on “SCCM OSD Part 1: Building Reference Images”
Comments are closed.